1. Get an API Key
You will need an API Key from Intelliprint to authorize requests from Klaviyo.All Intelliprint accounts can create an API key in the API Keys section of their account. API keys are displayed only once when they are created. We do not store them.In case you don’t already have an account, creating one is free and takes just a minute.
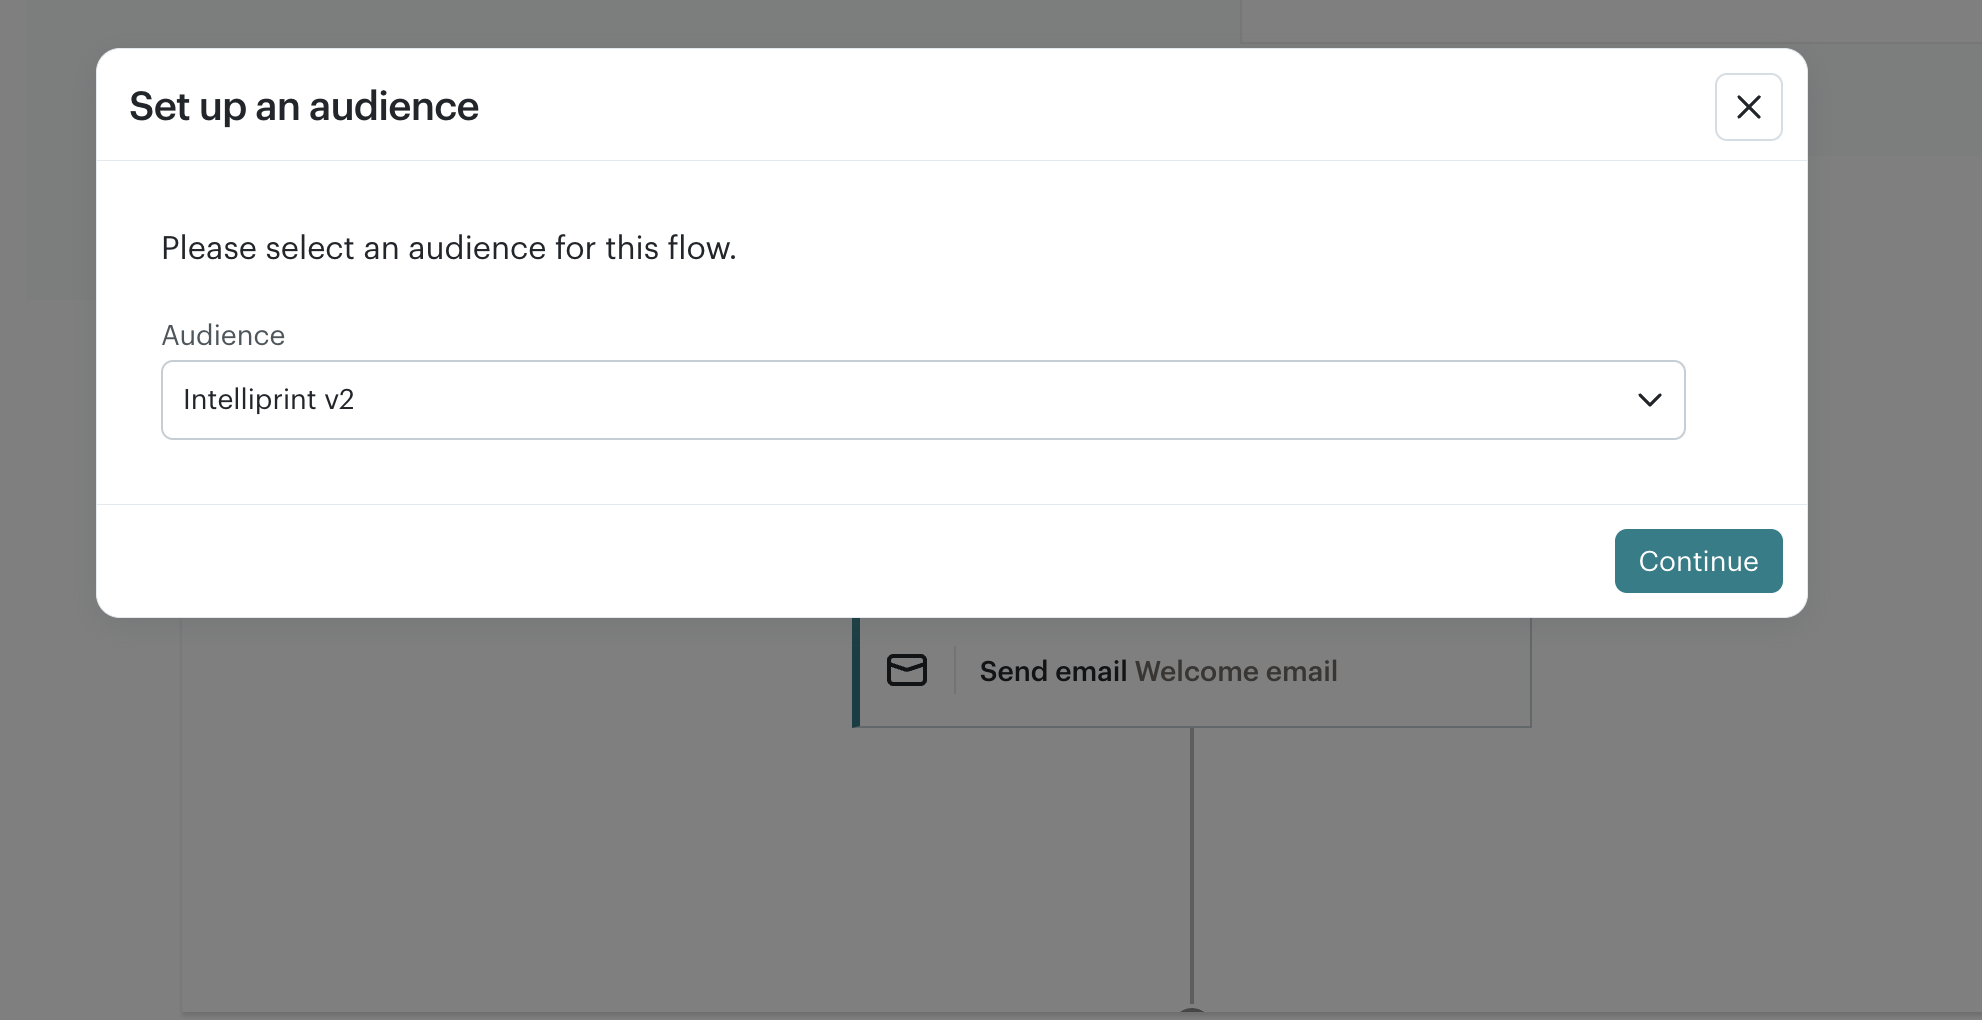
2. Select or Create an Automation
Choose an existing automation workflow or create a new automation based on the required trigger event.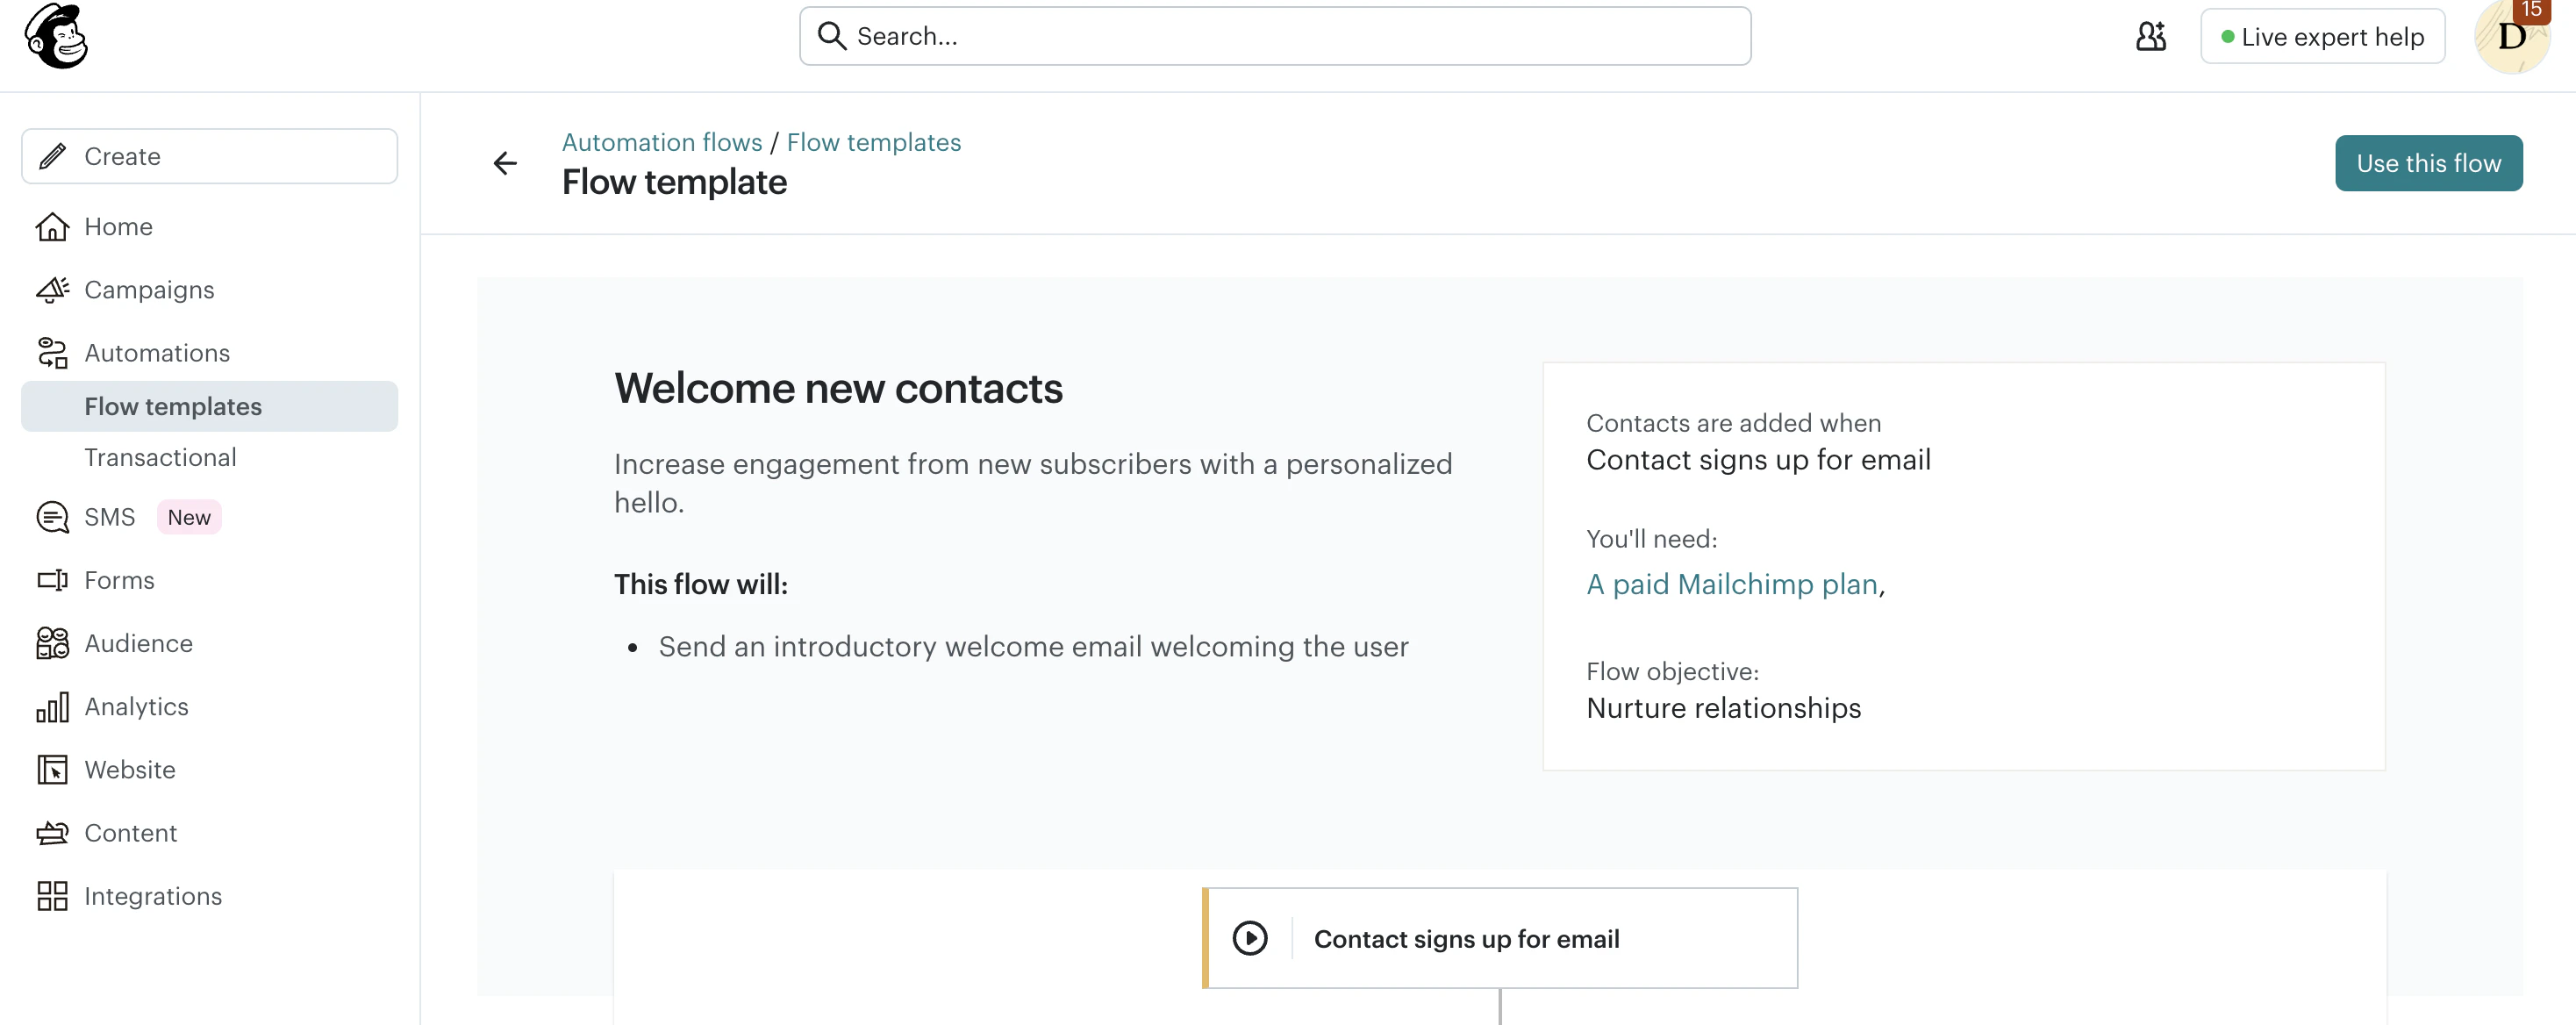
3. Add a webhook action
Within the automation workflow editor, click the + icon to add a new workflow step or action.From the available action categories, select the webhook or external request integration option to configure an outbound HTTP request to the external service endpoint.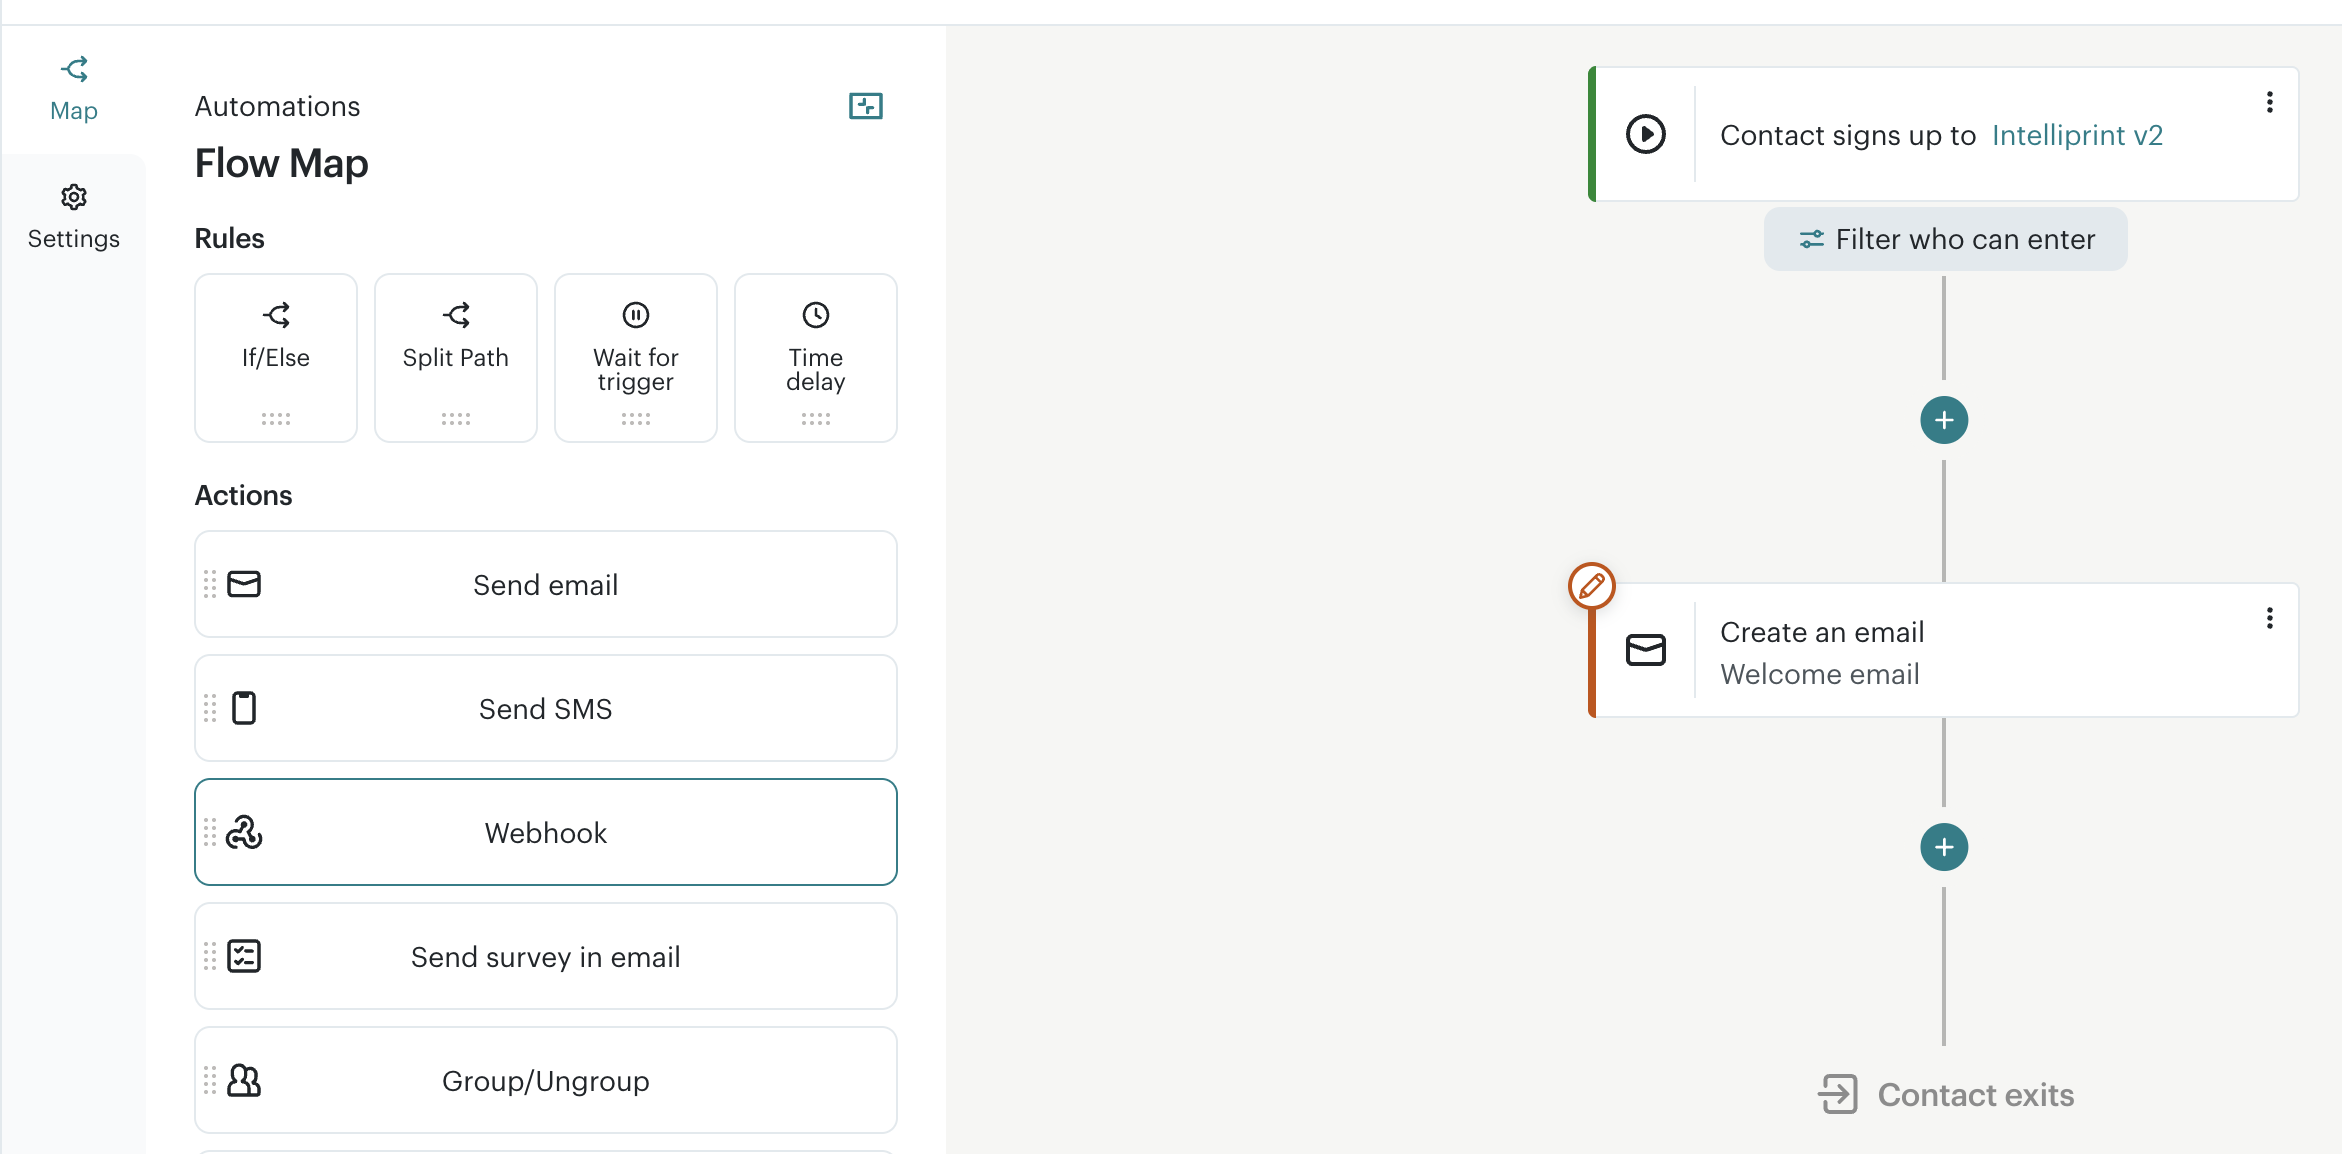
4. Configure the webhook action
In the webhook details section that opens on the left, fill the webhook name and these details:Ensure the HTTP Method is set to POSTDestination URL: https://api.intelliprint.net/v1/printsChoose token type as BearerBearer token: [Your Intelliprint Account’s API Key]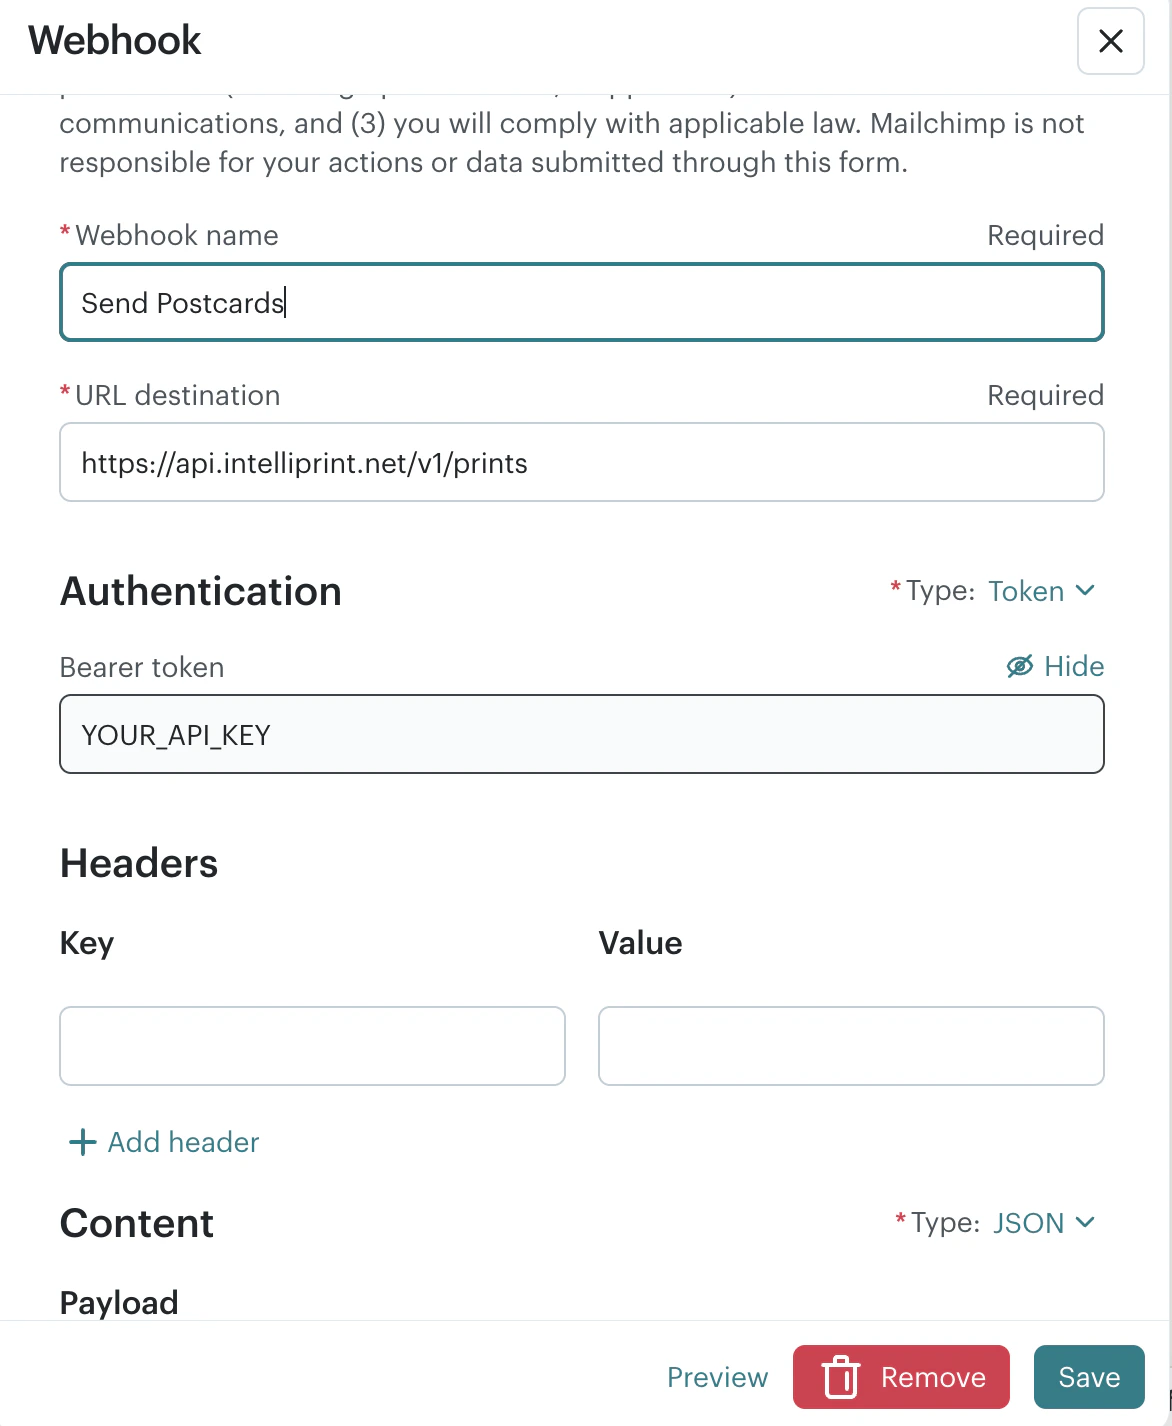
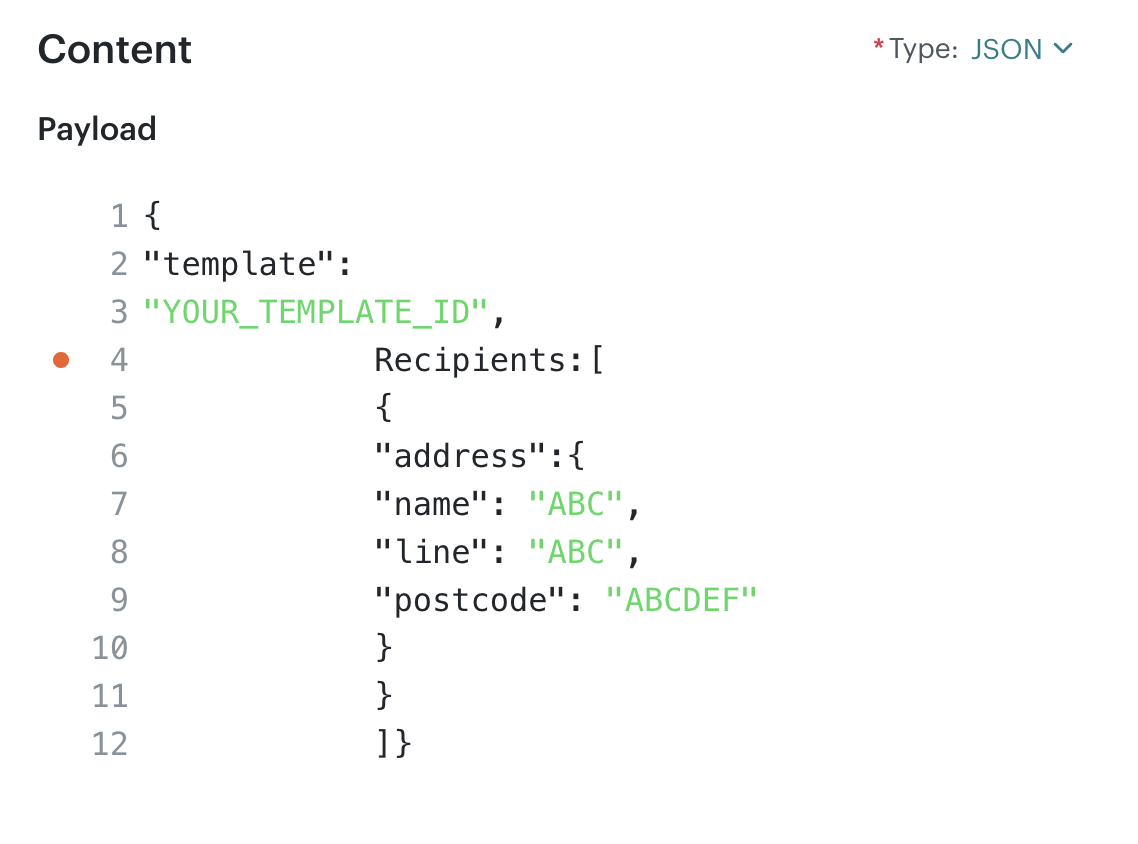
Example JSON Body
5. Save and Enable the Automation
After completing the webhook configuration, save the automation workflow and enable it.Mailchimp will automatically send HTTP requests to Intelliprint whenever the automation trigger conditions are met.
Ensure your Intelliprint account has sufficient balance to cover the cost of the print job or the API will return a payment error. You can also opt for pay later billing to ensure your print jobs always go through.